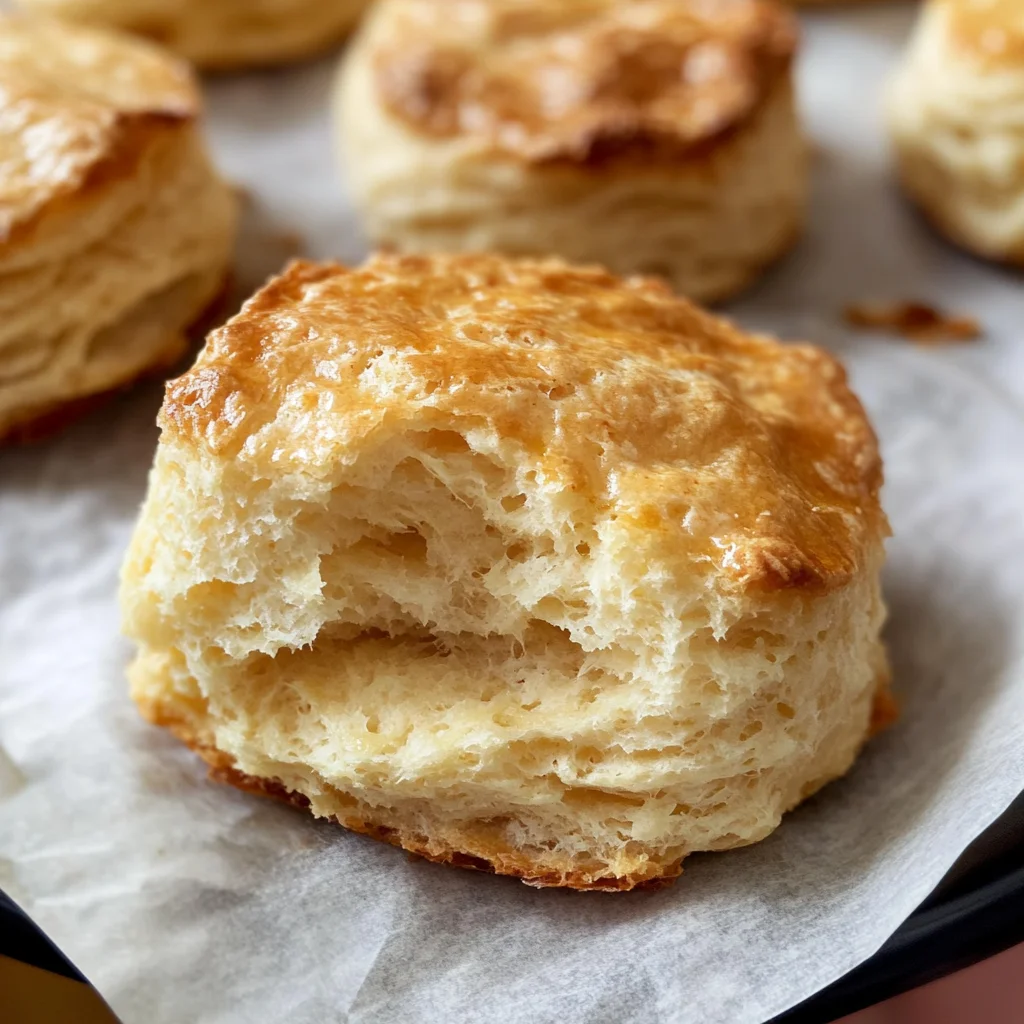
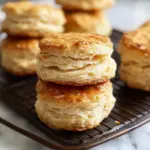
Gluten-Free Buttermilk Biscuits
These Gluten-Free Buttermilk Biscuits are a delightful treat for any occasion. With their soft, fluffy texture and buttery layers, they are perfect for breakfast, brunch, or as a side to your favorite dishes. This recipe guarantees golden tops and tender centers in just 30 minutes, making it an easy go-to for busy mornings or casual gatherings. Enjoy these biscuits fresh out of the oven for a comforting experience that will impress family and friends alike.
Why You’ll Love This Recipe
- Quick Preparation: Ready in just 30 minutes, perfect for busy mornings.
- Soft & Fluffy Texture: These biscuits are light and airy, reminiscent of traditional recipes.
- Versatile: Great as a side dish or served with jam and butter for breakfast.
- Dairy-Free Option Available: Easily substitute with plant-based alternatives.
- No Special Equipment Needed: Simple tools make this recipe accessible to everyone.
Tools and Preparation
Before diving into the recipe, gather your tools. Having everything ready will help streamline the process.
Essential Tools and Equipment
- Mixing bowl
- Pastry cutter or fork
- Measuring cups and spoons
- Baking sheet or cast iron pan
- Parchment paper
Importance of Each Tool
- Mixing bowl: Essential for combining dry ingredients smoothly.
- Pastry cutter or fork: Useful for cutting butter into flour without melting it.
- Baking sheet or cast iron pan: Provides even heat distribution for perfectly baked biscuits.
Ingredients
Dry Ingredients
- 2 cups gluten-free all-purpose flour
- 1/2 teaspoon xanthan gum (omit if your flour contains it)
- 1 tablespoon gluten-free baking powder
- 1 teaspoon salt
- 2 tablespoons granulated sugar
Wet Ingredients
- 1 cup buttermilk (or homemade buttermilk using dairy-free milk)
- 6 tablespoons unsalted butter (or dairy-free alternative)
- 1 large egg (or egg replacer)
Additional Ingredient
- 2 tablespoons gluten-free all-purpose flour (for dusting)
How to Make Gluten-Free Buttermilk Biscuits
Step 1: Preheat the Oven
Preheat your oven to 450°F (232°C). This high temperature is crucial for achieving those golden tops.
Step 2: Combine Dry Ingredients
In a large mixing bowl, combine the gluten-free flour, baking powder, salt, and sugar. Whisk them together until well mixed.
Step 3: Prepare the Butter
Cut the butter into small pieces and place it in the freezer for about 10 minutes. This helps create flaky layers in the biscuits.
Step 4: Make Homemade Buttermilk (if needed)
If you don’t have buttermilk on hand, make your own by adding 1 tablespoon of white vinegar or lemon juice to a cup of dairy-free milk. Let it sit for 5-10 minutes in the refrigerator.
Step 5: Cut in Butter
Using a pastry cutter or fork, cut the cold butter (or shortening if you’re making dairy-free biscuits) into the dry mixture until it resembles small peas.
Step 6: Mix Wet Ingredients
Add the chilled buttermilk and whisked egg (or egg replacer) to the mixture. Stir gently until a soft dough forms; be careful not to over-mix!
Step 7: Prepare Parchment Paper
Sprinkle one tablespoon of gluten-free flour on a large piece of parchment paper.
Step 8: Shape the Dough
Transfer the dough onto the floured parchment paper. Dust the top with another tablespoon of flour and gently fold it over itself twice without rolling out.
Step 9: Form Dough Round
With your hands, shape the dough into a round about 7 inches in diameter and about an inch thick; avoid making it too flat to ensure fluffy biscuits.
Step 10: Cut Out Biscuits
Use a biscuit cutter or glass to cut out 2-inch rounds from the dough. Avoid twisting while cutting to maintain edges that rise well. Gather scraps to form more biscuits as needed.
Step 11: Bake
Place cut biscuits on a greased baking sheet or cast iron pan. Bake in preheated oven for about 15-20 minutes until golden brown. Check at 15 minutes as ovens vary.
Step 12: Serve Warm
Once baked, brush melted butter on top if desired. Enjoy these delicious gluten-free buttermilk biscuits warm!
How to Serve Gluten-Free Buttermilk Biscuits
Gluten-free buttermilk biscuits can be enjoyed in various ways that enhance their flavor and texture. Whether you prefer them sweet or savory, these biscuits are versatile enough to complement any meal.
With Honey or Jam
- Honey – Drizzle warm honey over the biscuits for a sweet finish.
- Jam – Spread your favorite fruit jam, like raspberry or strawberry, for a fruity touch.
As Breakfast Sandwiches
- Egg and Cheese – Layer a fluffy scrambled egg and cheese for a hearty breakfast option.
- Turkey Sausage – Add turkey sausage patties for a protein-packed morning meal.
Served with Gravy
- Creamy Chicken Gravy – Pour homemade chicken gravy over your biscuits for a comforting dish.
- Vegetarian Mushroom Gravy – Top with rich mushroom gravy for a delicious vegetarian twist.
Accompanied by Soups or Stews
- Chicken Soup – Serve alongside a warm bowl of chicken soup to soak up the broth.
- Vegetable Stew – Pair with a hearty vegetable stew for a filling dinner option.
How to Perfect Gluten-Free Buttermilk Biscuits
To achieve the best gluten-free buttermilk biscuits, consider these essential tips. They will help you create biscuits that are fluffy and full of flavor.
- Use Cold Ingredients – Ensure your butter and buttermilk are cold to help achieve that flaky texture.
- Don’t Overmix – Combine ingredients until just mixed to avoid tough biscuits; less is more here!
- Properly Measure Flour – Use the scoop and level method when measuring flour to prevent dense biscuits.
- Cut Straight Down – When cutting out biscuits, press straight down without twisting to keep edges intact.
- Bake Immediately – Place the cut biscuits into the oven quickly to maintain their rise and fluffiness.
- Watch Baking Time – Check for doneness at 15 minutes; ovens vary, so adjust as needed.
Best Side Dishes for Gluten-Free Buttermilk Biscuits
Pair your gluten-free buttermilk biscuits with these delightful side dishes. Each offers unique flavors that complement the buttery taste of the biscuits perfectly.
- Savory Chicken Stew – A hearty stew packed with tender chicken and vegetables makes for a filling meal.
- Creamy Mashed Potatoes – Fluffy mashed potatoes with garlic butter pair wonderfully with biscuit texture.
- Fresh Garden Salad – A crisp salad adds freshness; try it with a lemon vinaigrette for extra zing.
- Roasted Vegetables – Seasoned roasted vegetables provide a delicious contrast in flavor and color on your plate.
- Baked Macaroni and Cheese – The creamy richness of mac and cheese pairs beautifully with the flaky texture of biscuits.
- Crispy Fried Chicken – A classic combination; serve crispy fried chicken alongside your biscuits for comfort food bliss.
- Sweet Potato Casserole – This dish adds sweetness and warmth; top it with marshmallows or pecans if desired.
- Spinach Artichoke Dip – A warm dip served alongside provides an indulgent appetizer before enjoying those warm biscuits.
Common Mistakes to Avoid
Making gluten-free buttermilk biscuits can be tricky. Here are some common pitfalls to steer clear of:
- Incorrect Flour Measurement: Using too much or too little flour can lead to dense biscuits. Always use a kitchen scale for accuracy or spoon the flour into the cup and level it off.
- Overmixing the Dough: Mixing the dough too much can result in tough biscuits. Mix just until combined; it’s okay if there are a few lumps.
- Skipping the Butter Freezing Step: Not chilling the butter can prevent you from achieving those flaky layers. Always freeze the butter before cutting it into the flour.
- Rolling Out the Dough: Rolling out gluten-free dough can make it tough. Instead, simply fold it gently as instructed to maintain tenderness.
- Incorrect Oven Temperature: Baking at the wrong temperature can ruin your biscuits. Always preheat your oven and use an oven thermometer if needed for accuracy.
Storage & Reheating Instructions
Refrigerator Storage
- Store in an airtight container for up to 3 days.
- Keep them in a cool, dry place to maintain freshness.
Freezing Gluten-Free Buttermilk Biscuits
- Freeze in an airtight container or freezer bag for up to 3 months.
- Separate layers with parchment paper to avoid sticking.
Reheating Gluten-Free Buttermilk Biscuits
- Oven: Preheat your oven to 350°F and bake for about 10 minutes until warm.
- Microwave: Heat on medium power for 15-20 seconds per biscuit until warm; avoid overheating as this may cause them to become chewy.
- Stovetop: Place biscuits in a skillet over low heat, cover with a lid, and warm for about 5 minutes.
Frequently Asked Questions
Here are some frequently asked questions about gluten-free buttermilk biscuits:
Can I make Gluten-Free Buttermilk Biscuits vegan?
Yes! You can substitute unsalted butter with dairy-free alternatives like Smart Balance or Earth Balance, and use Bob’s Red Mill Egg Replacer instead of an egg.
What is the best gluten-free flour for these biscuits?
A good all-purpose gluten-free flour blend works best. Look for one that contains xanthan gum, or add it separately if needed.
How do I know when my Gluten-Free Buttermilk Biscuits are done?
Your biscuits should be golden brown on top and firm to the touch. Start checking around 15 minutes into baking.
Can I customize my Gluten-Free Buttermilk Biscuits?
Absolutely! Feel free to add herbs, cheese, or spices for different flavors. Just remember that this might change baking times slightly.
How long do leftover Gluten-Free Buttermilk Biscuits last?
Stored properly, they will last up to 3 days in the fridge or up to 3 months in the freezer.
Final Thoughts
These gluten-free buttermilk biscuits are not only fluffy and delicious but also versatile enough to adapt based on your taste preferences. Whether you enjoy them plain, with jam, or alongside savory dishes, they will surely impress! Try experimenting with different ingredients like herbs or cheese for a unique twist on this classic recipe.
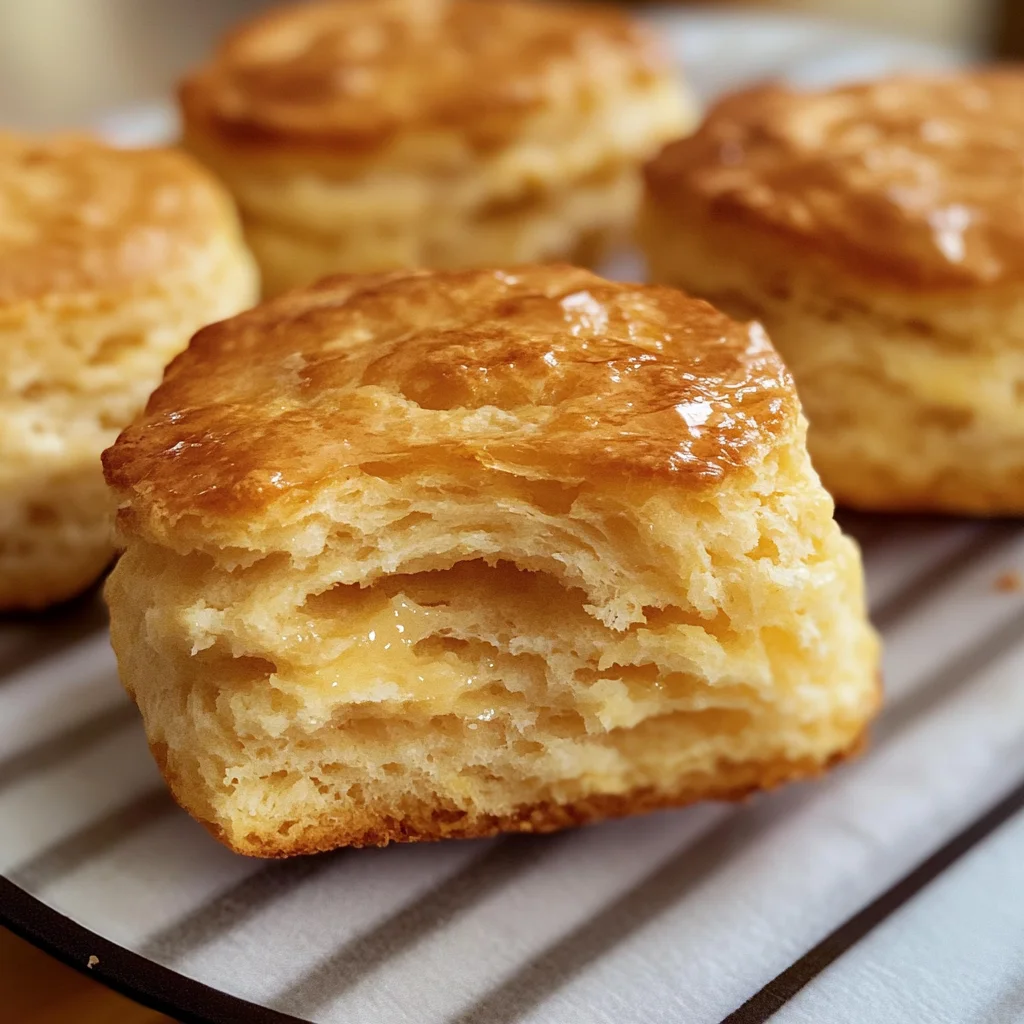
Gluten-Free Buttermilk Biscuits
Indulge in the delightful taste of Gluten-Free Buttermilk Biscuits, a perfect treat for any meal or occasion. These biscuits are soft, fluffy, and layered with buttery goodness, making them an ideal choice for breakfast, brunch, or as a side to hearty dishes. Ready in just 30 minutes, this recipe is a quick and easy solution for busy mornings or casual get-togethers. Enjoy them fresh out of the oven for a comforting experience that promises to impress your family and friends. With customizable options like dairy-free substitutions and savory additions, these biscuits can cater to various dietary preferences while maintaining their deliciousness.
- Prep Time: 10 minutes
- Cook Time: 15 minutes
- Total Time: 25 minutes
- Yield: Approximately 8 servings 1x
- Category: Desserts
- Method: Baking
- Cuisine: American
Ingredients
- 2 cups gluten-free all-purpose flour
- 1/2 teaspoon xanthan gum (omit if your flour contains it)
- 1 tablespoon gluten-free baking powder
- 1 teaspoon salt
- 2 tablespoons granulated sugar
- 1 cup buttermilk (or homemade buttermilk using dairy-free milk)
- 6 tablespoons unsalted butter (or dairy-free alternative)
- 1 large egg (or egg replacer)
- 2 tablespoons gluten-free all-purpose flour (for dusting)
Instructions
- Preheat your oven to 450°F (232°C).
- In a mixing bowl, combine the gluten-free flour, baking powder, salt, and sugar.
- Cut cold butter into small pieces and freeze for about 10 minutes.
- If needed, prepare homemade buttermilk by adding vinegar or lemon juice to dairy-free milk.
- Cut the butter into the dry mixture until it resembles small peas.
- Add the chilled buttermilk and egg (or replacer), stirring gently until a soft dough forms.
- Transfer dough to floured parchment paper; shape into a round about 7 inches in diameter.
- Cut out biscuits using a cutter and place on a greased baking sheet.
- Bake for 15-20 minutes until golden brown; serve warm with your favorite toppings.
Nutrition
- Serving Size: 1 serving
- Calories: 160
- Sugar: 1g
- Sodium: 260mg
- Fat: 7g
- Saturated Fat: 4g
- Unsaturated Fat: 2g
- Trans Fat: 0g
- Carbohydrates: 22g
- Fiber: 1g
- Protein: 3g
- Cholesterol: 30mg